

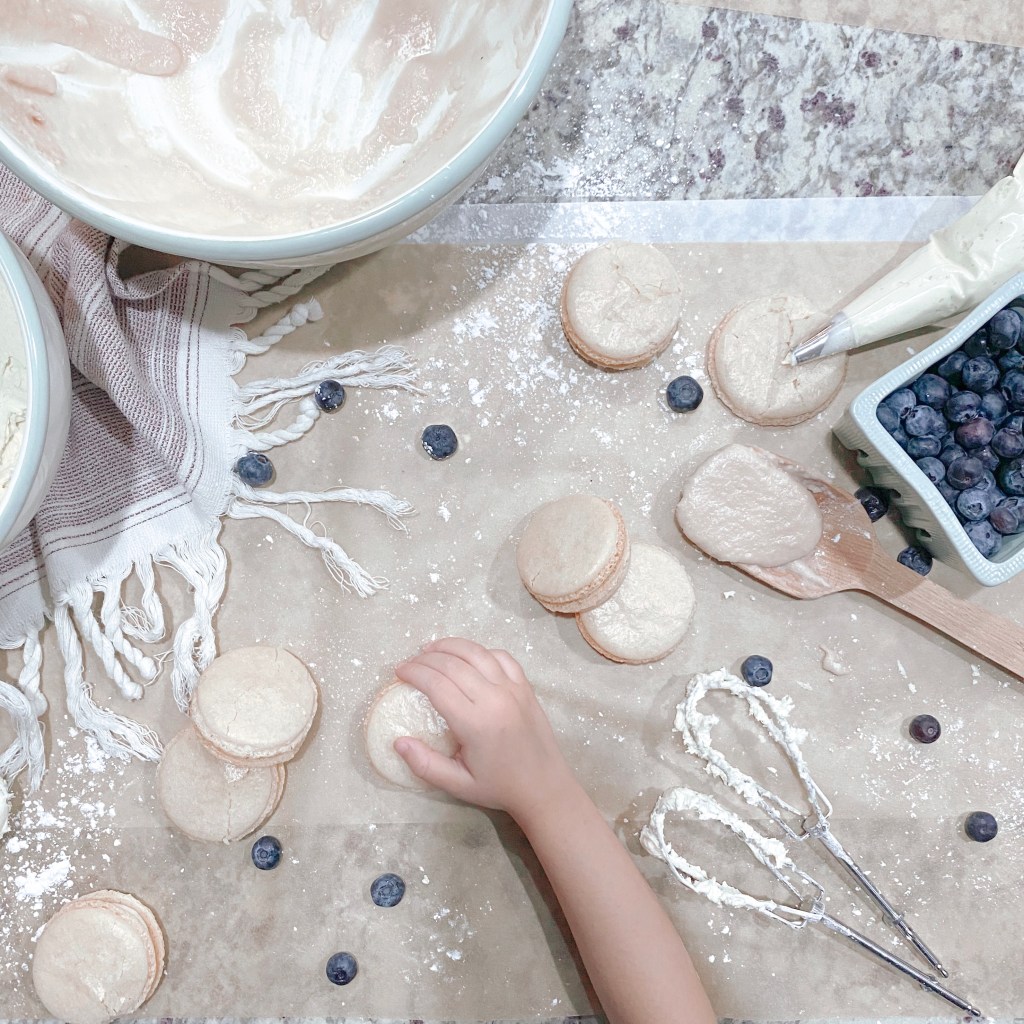
Let’s face it, macarons look so pretty, perfect, and proper, but boy are they unforgiving.
I’ve made macarons several times, using a very similar recipe each time. And every single time, I’ve gotten a totally different cookie.
They say that baking is a science, and ‘they’ might be right in this case especially. I am one of those bakers that will kind of estimate her ingredients and skip steps to make things simpler.
But when it comes to macarons, every measurement and move needs to be accurate and precise.
And there are a few tips and tricks I’ve learned the hard way over the years that I’ll share with you here so you can bypass the silly mistakes and start making perfect macarons every time (or at least more often, because let’s face it, they’re still finicky!)
TIPS & TRICKS TO HELP YOU MAKE THE PERFECT MACARON COOKIE EVERY TIME
These tips will certainly help you, but your cookies could still come out imperfectly. And that’s okay!
Practice makes perfect. The more you practice, the better you’ll get! And here’s the thing — even if they’re imperfect, they’re still likely delicious!
I’ll start out by saying that I don’t make up my own recipe for these — I use a proven one that I found here on Tasty.co.
But I do tend to have fun with my filling and flavors! This is a great base recipe to go off of though.
I’ll share Tasty.co’s recipe here too so you can find it all in one place.
COOKIE INGREDIENTS
- 1 3/4 cups powdered sugar
- 1 cup finely ground almond flour
- 1 tsp salt, divided
- 3 egg whites at room temperature
- 1/4 cup granulated sugar
- 1/2 tsp vanilla extract
- Food coloring to preference
VANILLA BUTTERCREAM INGREDIENTS
- 1 cup unsalted butter (2 sticks) at room temperature (when I make these dairy-free, I use coconut oil but it’s more finicky!)
- 3 cups powdered sugar
- 1 tsp vanilla extract
- 1-2 tbsp heavy cream or milk
DIRECTIONS
- Start by making your macarons. In the bowl of a food processor, combine the powdered sugar, almond flour, and 1/2 tsp salt, and process on low speed until extra fine. Sift the flour mixture into a large bowl. NOTE: I skipped the processing part and whisked my ingredients together instead because my flour was very finely ground, and it turned out okay!
- In a separate bowl, beat your egg whites and 1/2 tsp salt with a hand mixer until soft peaks form. Gradually add the granulated sugar until fully incorporated. Continue to beat until you see those soft ripples forming. You should be able to turn the bowl upside down without anything falling out.
- Add in the vanilla and food coloring and beat until incorporated.
- Add about 1/3 of your flour mixture at a time, and mix by hand until well incorporated. Continue to fold slowly with your spatula until ribbons form. You should be able to make a figure-8 with your batter.
- Transfer the macaron batter into a piping bag that has been fitted with a round tip.
- Place your macaron baking mats on your baking sheets.
- Pipe your mixture into the designated guide on your baking mat, making sure your cookies aren’t too big so they don’t bleed into each other.
- Lift up your baking sheet just an inch or two off the counter and drop it to allow all the air to escape your cookies. Rotate your cookie sheet and do this one or two times per rotation.
- Let your macarons sit at room temperature for 30 min – 1 hour, or until you can feel with your finger that they are drying.
- Preheat your oven to 300 degrees Fahrenheit.
- Baking macarons for about 17 minutes, or until they’ve risen and aren’t sticking.
- Make your buttercream filling by beating your butter until fluffy and slowly incorporating your sugar and vanilla. Once incorporated, add in your milk or cream until your buttercream is at your desired consistency.
- Transfer your buttercream to a piping bag with a round tip.
- Take your cookies out of the oven and allow them to cool completely, then fill and place another cookie on top to create a sandwich.
- Seal in an airtight container, and enjoy!
TIP #1 – SET OUT YOUR EGGS AND BUTTER AHEAD OF TIME
This is something I almost always forget to do, then I rush them in the end and end up with faulty cookies!
For your macaron cookies, you need 3 egg whites set out at room temperature. If you know you’re making macarons, set out your eggs a few hours before you start baking to ensure they’re totally room temperature before you begin.
Same with your butter if you’re making buttercream filling — it needs to be room temperature! Set it out with your eggs so you have a much easier time making your filling later.
TIP #2 – DON’T OVER-MIX, BUT DON’T UNDER-MIX
I know what you’re thinking. But Lauren, how do we know we’re at that perfect middle point!
I’ll tell you!
When you’re blending your egg whites, you want to blend until soft peaks begin to form. You’ll begin to see little ripples of egg whites. That’s when you stop!

And when you’re hand-mixing all of your ingredients together, you want to mix until you can create ribbons with your batter, meaning you can lift up your spatula without your batter breaking.
You should be able to draw something like a figure-8 or shape without your batter breaking. That’s when you know it’s done!
TIP #3 – USE A MACARON BAKING SHEET TO HELP YOU STAY CONSISTENT ON SHAPE AND SIZE
This has totally transformed the way I make macarons. Before using this, mine would come out so inconsistent!
I found this baking kit on Amazon and it’s been a game-changer.
The silicon mats with guides for size and shape make it easy to create macarons that are nice and consistent, and the reusable piping bags are a great touch too!
Before, I’d go through so many plastic bags. I love having these that I can wash out and reuse every time.
I will say, it’s still hard for me to get the size and shape right every time, even with the mold! I always tend to over pipe. So start smaller than you think you need and watch as it spreads a bit before adding more.
TIP #4 – YOU GOTTA BANG THOSE PANS ON THE COUNTER
In order to get all the air bubbles out of your macarons, you have to make sure to drop your pan on the counter from a few inches up a few times. This step is nice and fun, but it’s one many don’t take seriously!
If you skip this step you will end up with an imperfect end result, trust me!
TIP #5 – GIVE THEM ENOUGH TIME TO REST
This is another step that I always try to rush, but again it’s so important!
Your macarons need time to rest and almost dry out for about 30 minutes to an hour before you put them in the oven. Fail to do this, and they’ll spread as they bake.
You should wait until you can run your finger lightly over the top of your cookies without any batter coming off on your finger.
Then you can bake them!
TIP #6 – BAKING TIME IS IMPORTANT!
I usually bake mine at 300 degrees Fahrenheit for 17 minutes, but always check and see if they might need more or less time! When you take them out of the oven, the feet (aka ruffles at the bottom) should be nice and formed, and the tops should be hard but not browning.
If they are still sticking to your baking mat, they probably need a couple more minutes to crisp up underneath. If they’re starting to brown, they might need to come out OR go down a rack or two in your oven.
Practice makes perfect!
TIP #7 – ALLOW THEM TO COOL COMPLETELY BEFORE FILLING THEM

Basically, all my tips have to do with one word – patience! This is a finicky cookie and requires lots of attention and patience.
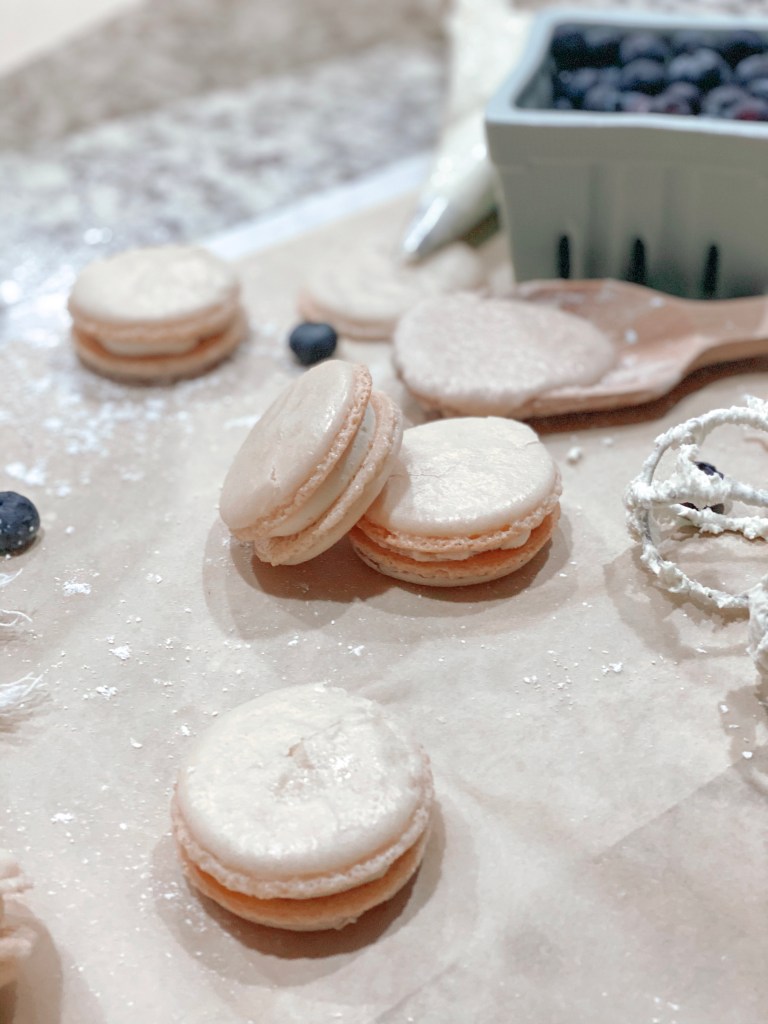
Let your cookies cool completely before you attempt to fill them. And when you do, use a piping bag to create a nice circle of filling around the edges and then fill in that circle. That way, you have a perfect ring on the outside that will show between your cookies.
TIP #8 – IF YOU MESS UP, EAT THE SCRAPS AND TRY AGAIN
Odds are you won’t get this perfect every single time, and that’s okay! I certainly do not! If you mess up, take a fork to the scraps (because they’ll still taste good) and try again!
Feeling less scared to try these out for yourself? Let me know if you decide to test the waters in the comments below!


Leave a Reply