

I swear by the power of paint. I love how it can completely transform the entire look and feel of a space or object.
It can take something old and drab and make it look brand new again!
I have talked about this a lot over the years. If you want to transform a space and have a limited budget, turn to paint!
Not to mention painting can be very therapeutic!
But where do you start when choosing a color or a type of paint to use? Let’s dive into that today…

PAINTING 101: EVERYTHING YOU NEED TO KNOW ABOUT THE PAINT COLORS IN MY HOME & THE TYPES OF PAINT I USE
SEEK BALANCE
I try to create a balanced home, so I reuse the same accent colors throughout so my home feels cohesive and like each room belongs together. That’s not to say you can’t have some fun and go out of the box for a few rooms – you absolutely can!
This is just one way I like to think about it when choosing colors for my home. Start with a neutral as your primary color and paint all or most of your walls that color.
Next, choose your secondary neutral color. This will cover things like your cabinets, trim, doors, etc.
Then choose a couple of accent colors that work together and picture your entire home as an open concept for a second. How would you sprinkle in those accent colors to make sure that the entire open space feels balanced? Choose 2-3 depending on the size of your home or the number of rooms you have to cover.
Make sense?
I also like to choose colors that have similar tones when I can so they all flow nicely together. Because of this, I usually gravitate towards cooler neutrals and muted tones.
Here’s a peek at my current color palette that I’m in the process of spreading throughout my home:

Primary Color: Chantilly Lace by Benjamin Moore (most walls)
Secondary Color: Pure White by Sherwin Williams (cabinets, trim)
Primary Accent Color: Gatherings by Magnolia
Secondary Accent Color: Early Riser by Magnolia
Accent Color to Use Sparingly: Tricorn Black by Sherwin Williams
THE COLORS IN MY HOME
Here’s a quick cheat sheet of the colors that I have in my home currently:
- Main wall color throughout the house: Chantilly Lace by Benjamin Moore
- Office herringbone shiplap wall: Gatherings by Magnolia
- Half bath vanity: Gatherings by Magnolia
- Window seat: Svelte Sage by Sherwin Williams
- Laundry room cabinets: Sea Salt by Sherwin Williams
- Laundry room floors: Base is White Chalk Paint by Behr with Loft Space by Behr as the stencil color.
- Master bedroom shiplap: Chantilly Lace by Benjamin Moore
- Kitchen cabinets: Pure White by Sherwin Williams
- Dining room walls: Early Riser by Magnolia & Chantilly Lace by Benjamin Moore
- Entryway shiplap: Tricorn Black by Sherwin Williams
- Basement kitchenette cabinets: Pure White by Sherwin Williams
- Basement media room accent wall: Tricorn Black by Sherwin Williams
- Guest room accent wall: Sea Salt by Sherwin Williams
- Basement floors: Base is Linen White Chalk Paint and stencil is Charcoal Chalk Paint by Rustoleum
- Media room console: Gatherings by Magnolia
- Front door (exterior): Indian Sunset by Behr
- Front door (interior): Early Riser by Magnolia
- Other exterior & basement doors: Gatherings by Magnolia
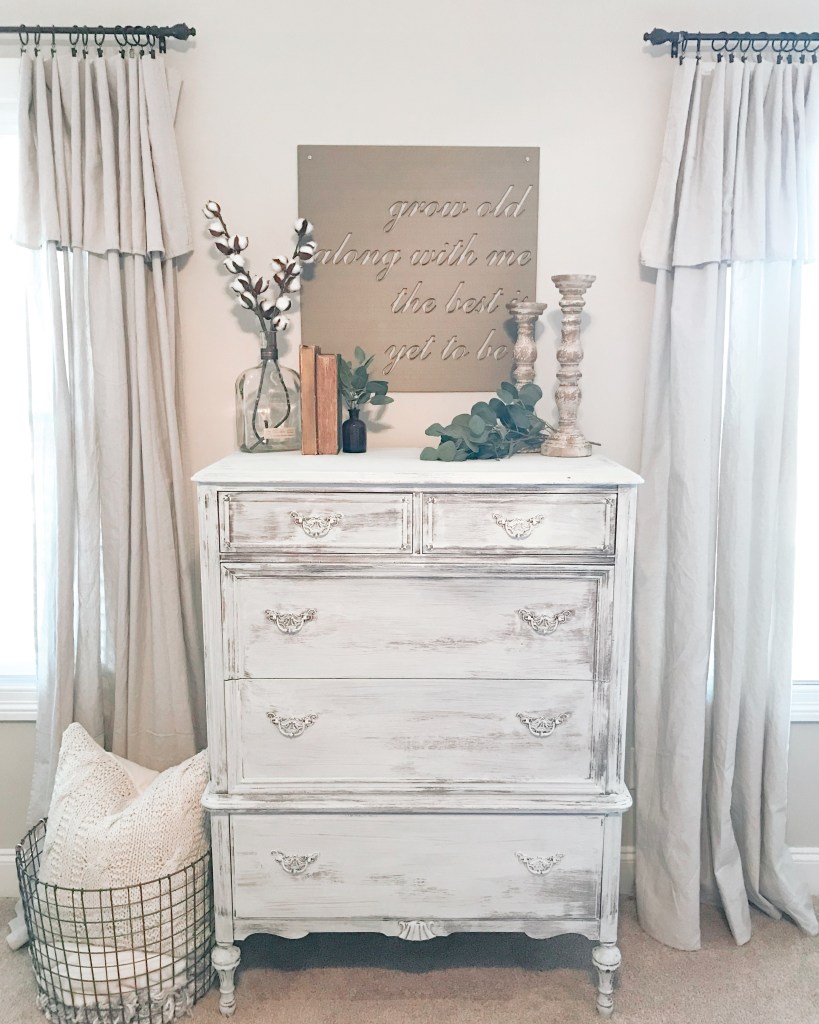
- Master bedroom furniture: Pearl Milk Paint by The Real Milk Paint Co.
- Guest room shiplap headboard: Bit of Sugar by Behr
- Dining room chairs: Gatherings by Magnolia
- Trim: Pure White by Sherwin Williams (currently in progress of painting it all myself! I like my trim to match my cabinets)
And here are the finishes that I prefer depending on what I’m painting:
- Cabinets: Satin
- Doors: Satin preferred, but I typically just use what I have on hand!
- Trim: Satin
- Walls: Matte or flat preferred, Eggshell if not available
- Furniture: Typically chalk or matte
As you can see, there are a lot of repeated colors here! That’s not due to laziness. It’s due to the fact that I love those colors and am aiming for a balanced, cohesive home!
But you can also see that I have a few random colors in there too. That’s okay! Use fun colors for accents but make sure they’re in the mix with your main colors in your home too to promote cohesiveness.
For example, use your fun colors as accent walls where the other walls in the room are still the main color for the home.
Ultimately, it’s YOUR home! Make it what you want it! These are just the ‘rules’ I try to follow.
PAINTING TOOLS

To each their own when it comes to painting tools, but here’s a quick breakdown of my favorites…
- Paint Brush: Wooster Silver Tip Angled Brushes
- Rollers for Cabinets: Foam Rollers
- Rollers for Walls: Wooster Pro 3/8″ Nap
- Stencil Brushes for Stenciling: Cutting Edge Stencils brushes
- Paint Sprayer: Yattich Paint Sprayer
TYPES OF PAINT
When it comes to types of paint to use, there are always several options for just about every project you do.
I’ll just share a few of my favorite uses for each! But always make sure to do your own research depending on what you’re painting to make sure it’ll work for you too!
CHALK PAINT

When in doubt, I use chalk paint. Not only do you not have to sand or prep your piece when you use chalk paint, but you also get a thicker, more even coat.
I also love the chalky matte finish you get with chalk paint. There’s no shine.
It sticks to almost anything and is great if you want to blend or layer in other colors or if you want to lightly distress your piece for a chippy look.
Just make sure you seal it when you’re finished! I love this furniture wax for chalk paint.
And I also love a matte sealant for things like high traffic furniture.
I love using chalk paint on my floors too. Again, you don’t have to prep much and you get a thick, even coat with a matte finish.
MILK PAINT
Milk paint has a milk-like consistency, hence the name! So it’s nice and thin. It’s not something you paint walls or floors with, but it is something you use when you want to make a piece of furniture look old and antiqued.
I love coating an older piece in one coat of milk paint (I like this brand and color) so it looks aged and antique. It still allows some of the wood to show through and gives it all those good vintage vibes.
You must prep with milk paint though! Always lightly sand your piece first, because the milk paint won’t stick to anything that hasn’t been sanded. That’s how you get that good chippy look!
Then you can seal with a furniture wax, but I prefer to leave this paint exposed so you get more wear and tear and distressing as it ages.
CABINET PAINT

I’ve used a couple of different types of paint for cabinets, but the main thing you want to look at first is your primer.
Different primers adhere to different materials, so know whether your cabinets are wood or laminate first, then choose your primer accordinly.
When it comes to paint, you want something durable and scrubbable as cabinets get a lot of use!
LAUNDRY ROOM CABINETS
I used this type of paint for my laundry room cabinets without sealing them with a top coat, and they’ve held up great so far. That said, I wouldn’t use this paint for something like kitchen cabinets that are going to get a lot of use.
KITCHENETTE CABINETS
For my kitchenette cabinets, I used this type of paint with enamel. It worked well to get a good, even coverage, but it was much thinner and more drippy than the other paints I’ve used. And ultimately I’ve heard that this particular paint can be prone to chipping. It also took me 3-4 coats to get good enough coverage, so I went through more paint than I expected to.
While I liked the finish, I probably wouldn’t choose this particular type of paint again simply because I found something better when painting our kitchen cabinets.
KITCHEN CABINETS
For my kitchen cabinets, I used Sherwin Williams Emerald Urethane Trim Enamel in a satin finish, and it was a dream!
It went on in fewer coats (2 or less) with a gorgeous finish. For my entire kitchen, bar, and mudroom cabinets, I used less than 2 gallons. I was amazed!
I would 100% choose this paint again over any other cabinet paint I’ve used for future cabinet and trim projects!
Click here for my kitchen cabinet painting tutorial!

For cabinets, I always prefer a satin finish!
WALL PAINT

Depending on the color you want and the brand you’re going with, ask the people at your local hardware store what works best for your project!
I’ve used several different kinds of paint for my walls.
But I always prefer a matte or flat finish when it comes to wall paint! Just my personal preference!
FLOOR PAINT

Painting floors can sound scary, but don’t let it intimidate you! It’s actually super fun and rewarding to watch the entire room transform before your eyes!
I love using chalk paint for my base paint. Like I mentioned above, you don’t have to prep, you get thicker coverage, and you get a smooth, chalky finish!
For the stencil paint, I’ve used all kinds! Chalk paint, latex paint, leftover wall paint, acrylic paint… it all works as long as you give your base coat enough time to fully cure first.
I have a blog post all about stenciling here if you want to learn more about the hows and whys!
Then you always want to protect those floors!
The sealant I swear by is the Rustoleum Ultra Cover Clear Gloss. It leaves you with a glossier finish, but I have never had a problem with anything chipping or yellowing while using this.
FURNITURE PAINT

Again, you can get away with a lot of different types of paint for furniture! I’ve used leftover wall paint, chalk paint, milk paint, etc.
Decide what you want the overall finished look to be, then choose your paint accordinly!
And if it will get a lot of use or come into contact with water, make sure you seal with a matte polyurethane or clear furniture wax!
QUESTIONS?

Leave a comment below, and I’ll be happy to answer them!
Happy painting!


Normally one was paint their ceilings in a flat sheen but I’ve heard some people use a matte on their ceilings when they paint their walls matte so it looks cohesive. You stated you prefer matte finish for walls. Did you use matte or flat for your home ceilings? Thanks!
I usually match the sheens for my walls and ceilings, so I typically prefer matte!